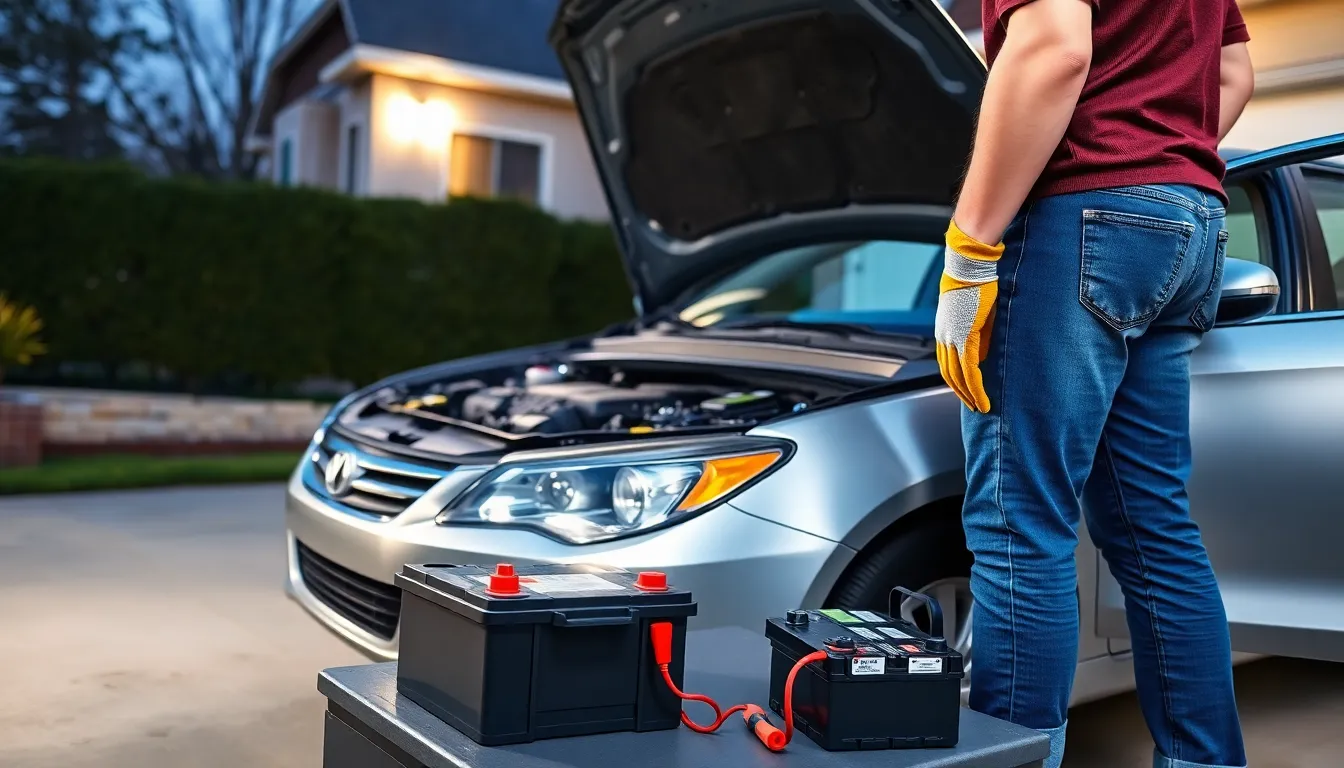
Ever found yourself stranded in a parking lot, staring at a car that just won’t start? It’s like your vehicle’s way of saying, “I need a nap!” Before you call for backup or start contemplating a career as a professional hitchhiker, consider tackling the issue yourself. Changing a car battery at home isn’t just a handy skill; it’s a great way to save some cash and impress your friends with your newfound mechanical prowess.
Table of Contents
ToggleTools Needed For The Job
Changing a car battery at home requires specific tools to ensure a smooth process. Effective preparation prevents complications and promotes safety.
Basic Tools
Wrenches in various sizes assist with loosening and tightening battery terminals. A socket set simplifies access to hard-to-reach areas. A pair of pliers can help with battery terminal removal. Using a battery terminal cleaner keeps connections free of corrosion. Lastly, a new battery ensures proper functionality after installation.
Safety Equipment
Safety goggles protect eyes from battery acid and debris. Insulated gloves provide a barrier against electrical shocks. An apron or old clothes safeguards against potential acid spills. A flashlight illuminates dark spaces, making it easier to see connections. A fire extinguisher rated for electrical fires offers peace of mind during the process.
Steps To Change Car Battery At Home

Changing a car battery at home involves a series of straightforward steps. Each step ensures safety and efficiency during the process.
Step 1: Prepare Your Vehicle
Position the vehicle on a flat surface for stability. Engage the parking brake to prevent movement. Turn off the engine and remove the key from the ignition to eliminate any electrical draw. Disconnect any electronic devices to avoid accidental shocks. Gather all necessary tools and safety equipment, ensuring everything is within reach.
Step 2: Remove The Old Battery
Begin by removing the negative terminal cable, identified by its black color and minus sign. Next, disconnect the positive terminal cable, marked with a red color and plus sign. Use a wrench or socket set for easy removal of the battery clamps. Lift the battery straight up to avoid damaging surrounding components. Carefully transport the old battery to a designated recycling location to comply with local regulations.
Step 3: Install The New Battery
Place the new battery into the battery tray, ensuring the positive and negative terminals are in the correct positions. Attach the positive terminal cable first, securing it with the appropriate tool. Connect the negative terminal cable next, ensuring a snug fit. Verify that the terminals do not touch and there are no loose connections.
Step 4: Secure The Battery
Tighten the clamps to hold the battery securely in place. Inspect the area for any tools or materials left behind. Check that the battery is firmly seated, preventing movement while driving. Make sure all connections are tight and free of corrosion. Start the vehicle to confirm that the new battery functions properly.
Tips For Maintaining Your Car Battery
Maintaining a car battery extends its lifespan and enhances vehicle performance. Regular checks help catch potential issues early.
Regular Inspections
Conduct inspections every few months to assess the battery’s condition. Look for signs of corrosion on terminals, which can impede performance. Checking the battery case for cracks or leaks provides insight into its health. A multimeter can measure voltage levels, with readings between 12.4V and 12.7V indicating good condition. Also, note any changes in how the engine starts; sluggish starts may signal problems. Keeping a log of these checks offers a clear history of battery performance.
Cleaning Battery Terminals
Cleaning battery terminals prevents corrosion buildup and ensures optimal connectivity. Use a battery terminal cleaner or a mixture of baking soda and water to eliminate grime. Apply the solution with a brush, scrubbing each terminal thoroughly. Rinse with water and dry completely to avoid residue. After cleaning, it’s beneficial to apply petroleum jelly or dielectric grease to terminals, which creates a protective barrier against moisture. Regularly cleaning helps maintain battery efficiency and reduces the risk of starting issues.
Common Mistakes To Avoid
Changing a car battery at home can save time and money, but specific mistakes can complicate the process. Heed these common pitfalls to ensure a successful battery change.
Ignoring Safety Protocols
Safety protocols play a crucial role during battery changes. Not wearing safety goggles can expose eyes to acid splashes. Insulated gloves protect hands from electrical hazards. Failing to disconnect the negative terminal first increases the risk of short circuits. He must also ensure the area is well-ventilated to prevent the buildup of harmful gases. Using a fire extinguisher rated for electrical fires offers added security in unexpected situations. A proper focus on safety minimizes potential injuries.
Not Disposing Of The Old Battery Properly
Proper disposal of the old battery is essential. Many areas have regulations regarding battery disposal due to environmental concerns. He should take the old battery to a recycling center or an auto parts store that offers recycling services. Leaving it in a landfill can harm the environment through lead contamination. Some auto retailers even provide discounts for returning old batteries, creating an incentive for responsible disposal. Avoiding improper battery disposal ensures compliance with local laws and protects the planet.
Changing a car battery at home can be a rewarding experience. With the right tools and safety precautions in place anyone can tackle this task confidently. By following the outlined steps and maintaining the new battery regularly it’s possible to ensure reliable vehicle performance.
Taking the initiative to change a battery not only saves money but also empowers individuals to develop their mechanical skills. Remember to always prioritize safety and proper disposal of old batteries to protect both personal well-being and the environment. Embracing this DIY approach can lead to greater satisfaction and a deeper understanding of vehicle maintenance.


