Setting up a 3D printer can feel overwhelming, especially for beginners. With the right guidance, it can transform from a daunting task into an exciting journey of creativity and innovation. Understanding the essential steps and components involved in the setup process is crucial for achieving stunning prints and maximizing the printer’s potential.
From choosing the right location to calibrating the printer, every detail matters. This article will break down the key aspects of 3D printer setup, ensuring users are well-equipped to dive into the world of three-dimensional printing. Whether it’s for personal projects or professional applications, mastering the setup will pave the way for endless possibilities in design and fabrication.
Understanding 3D Printers
3D printers come in various types and incorporate essential components. Understanding these elements is vital for maximizing printing quality and performance.
Types of 3D Printers
- Fused Deposition Modeling (FDM): FDM printers utilize thermoplastic filaments melted and extruded through a nozzle, forming layers. They suit beginners and offer affordable options for hobbyists.
- Stereolithography (SLA): SLA printers use a laser to cure liquid resin layer by layer. They produce high-detail prints but require post-processing to remove excess resin.
- Selective Laser Sintering (SLS): SLS printers utilize a laser to fuse powder materials, which create durable parts. They are common in industrial applications for prototyping.
- Digital Light Processing (DLP): DLP printers project light onto resin, curing layers simultaneously. They offer faster print times and high-resolution outputs, suitable for intricate designs.
- Multi-Jet Modeling (MJM): MJM printers dispense liquid plastic that solidifies into layers using UV light. They deliver excellent detail across various colors and materials.
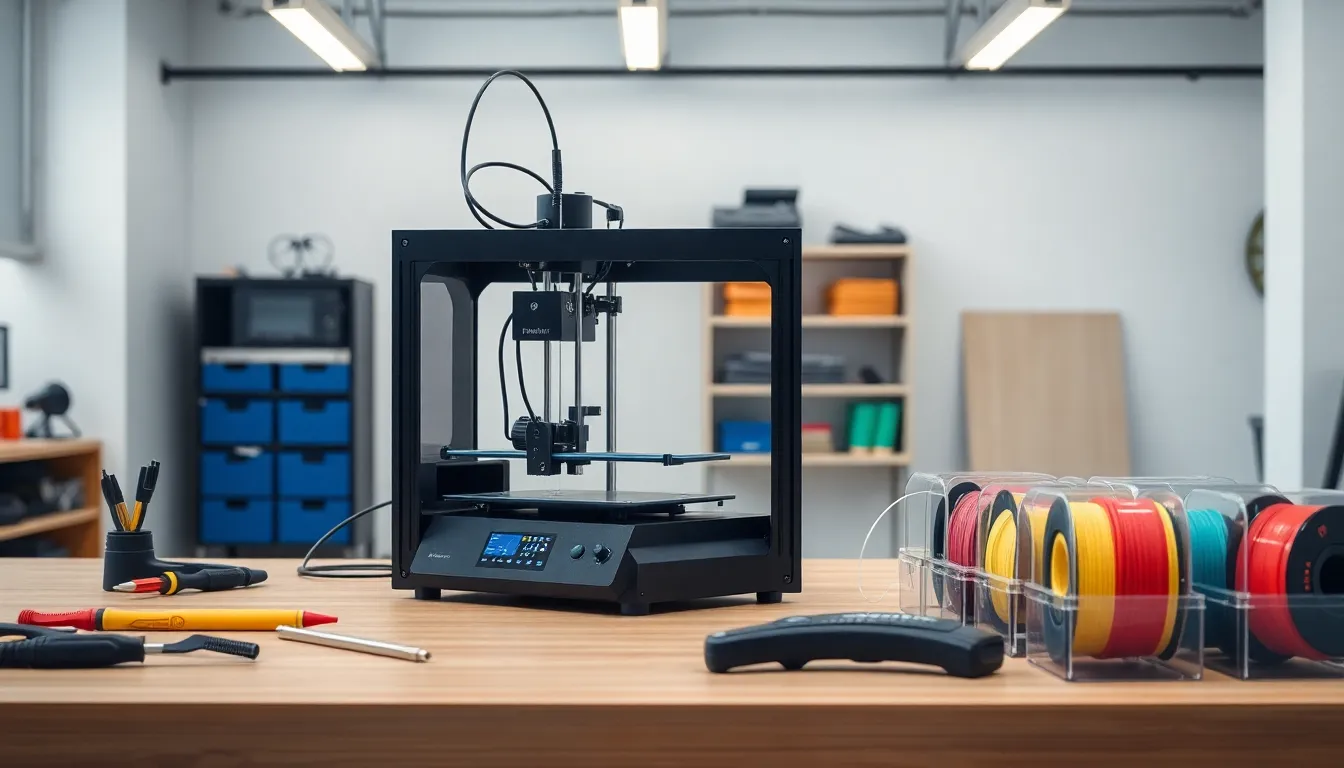
Key Components of a 3D Printer
- Print Bed: The surface where objects are printed, requiring a level and appropriately heated environment to ensure adhesion and minimize warping.
- Extruder: The mechanism that feeds filament into the hot end, where it melts and is deposited onto the print bed in layers.
- Hot End: The part that heats the filament, transforming it into a liquid state for layering during printing.
- Stepper Motors: Motors that control the movement of the print head and print bed, ensuring precise positioning and layer creation.
- Control Board: The central component that processes commands and manages the printer’s functions, including temperature control and movement.
- Cooling Fans: Fans that help solidify the filament quickly after extrusion, preventing deformation and improving print quality.
- Power Supply Unit: The component that provides the necessary electrical power to all printer parts, crucial for stable operation.
Preparing for 3D Printer Setup
Preparing for a 3D printer setup involves careful consideration of the environment and the necessary equipment. This preparation ensures an efficient and effective printing experience.
Selecting the Right Location
Selecting the right location is crucial for optimal 3D printing.
- Space: Choose a flat, stable surface that can support the printer’s weight and size. Ensure enough space around the printer for easy access and maintenance.
- Ventilation: Ensure adequate ventilation, particularly for printers using materials that emit fumes, such as ABS. An open room or a fan can help mitigate any odors.
- Temperature: Maintain a stable temperature to avoid warping during printing. Avoid placing the printer near drafts or temperature fluctuations, like windows or heating vents.
- Power Supply: Locate the printer near an electrical outlet to minimize extension cord use, which can introduce safety hazards.
Necessary Tools and Materials
Gathering necessary tools and materials is essential for a smooth installation process.
- Tools: Have a toolkit ready, including screwdrivers, pliers, and tweezers for building and maintaining the printer.
- Filament: Choose the correct filament type for the selected printer. Common materials include PLA, ABS, and PETG, each with unique properties.
- Calibration Tools: Use tools like a digital caliper or feeler gauge for precise measurements during calibration.
- Storage: Prepare a dedicated storage solution for filaments and spare parts to keep everything organized and easily accessible.
These steps ensure that users establish a strong foundation for their 3D printing journey.
Step-by-Step 3D Printer Setup
Setting up a 3D printer involves several critical steps. Proper execution ensures successful operation and high-quality results.
Unboxing and Initial Inspection
Unboxing a 3D printer requires care to avoid damage. Inspect packaging for physical damage before opening. Check for all components listed in the manual, including the printer, power supply, filament, and tools. Verify that there are no loose parts by gently shaking the printer. Document any discrepancies or damages by taking photos for warranty purposes.
Assembling the 3D Printer
Assembling begins with reading the assembly manual carefully. Start by securing the frame, which includes connecting vertical and horizontal components. Next, install the print bed, ensuring it’s level and stable. Attach the extruder and hot end, verifying proper alignment with the print bed. Connect stepper motors and wiring harnesses, confirming all connections are secure. Lastly, adjust the mechanical components using a screwdriver for tight fittings.
Software Installation and Configuration
Software installation is vital for 3D printer operation. Download the appropriate software from the manufacturer’s website, ensuring compatibility with the printer model. Install the software on the computer, following on-screen instructions. Configure the printer settings, including nozzle and bed temperatures, extruder speed, and layer height, based on the filament type used. Check for firmware updates within the software and apply necessary updates to enhance printer performance.
Calibration and Testing
Calibration ensures the 3D printer operates correctly, leading to high-quality prints. Testing follows calibration, providing insight into potential issues during printing.
Bed Leveling Techniques
Bed leveling is crucial for print adhesion and quality. Users typically employ three common methods:
- Manual Leveling: Adjusts the corners of the print bed using a piece of paper to create a small gap between the nozzle and bed. This method requires careful attention to ensure uniformity across all corners.
- Auto Bed Leveling: Utilizes sensors to automatically measure the bed’s surface. This method saves time and ensures accuracy, making it ideal for users with multiple prints.
- Mesh Bed Leveling: Maps the entire bed surface, compensating for any irregularities. This technique enhances print quality on uneven or warped surfaces by adjusting print height dynamically.
Test Prints and Troubleshooting
Conducting test prints verifies printer performance and identifies areas for improvement. Recommended practices include:
- Calibration Cube: Prints a small cube to evaluate dimensional accuracy and alignment. Users monitor measurements using calipers to ensure the printer produces precise dimensions.
- Temperature Tower: Allows testing of filament settings by printing multiple sections at different temperatures. This process helps find the optimal extrusion temperature for specific materials.
- Identify Issues: Users should observe prints for common problems such as under-extrusion, stringing, or warping. Addressing these issues can involve adjusting settings like retraction distance, print speed, or bed temperature.
By implementing effective calibration and testing practices, users optimize their 3D printing experience, leading to successful projects.
Setting up a 3D printer can seem daunting at first but with the right approach it becomes an exciting journey. By following the outlined steps and understanding the components involved users can create a solid foundation for successful prints.
Emphasizing preparation and calibration ensures not just functionality but also enhances the overall printing experience. As users become familiar with their printer’s capabilities they’ll find endless possibilities for creativity and innovation.
With patience and practice anyone can master the art of 3D printing and unlock a world of potential for personal and professional projects.